Posted on in category News

World’s largest ARM supercomputer is headed to a nuclear security lab

The content below is taken from the original ( World’s largest ARM supercomputer is headed to a nuclear security lab), to continue reading please visit the site. Remember to respect the Author & Copyright.

Most supercomputers are focused on pure processing speed. Take the DOE's new Summit system, which is now the world's most powerful supercomputer, with 9,000 22-core IBM Power9 processors and over 27,000 NVIDIA Tesla V100 GPUs. But processing performa…

Posted on in category News

Partner Interconnect now generally available

The content below is taken from the original ( Partner Interconnect now generally available), to continue reading please visit the site. Remember to respect the Author & Copyright.

We are happy to announce that Partner Interconnect, launched in beta in April, is now generally available. Partner Interconnect lets you connect your on-premises resources to Google Cloud Platform (GCP) from the partner location of your choice, at a data rate that meets your needs.

With general availability, you can now receive an SLA for Partner Interconnect connections if you use one of the recommended topologies. If you were a beta user with one of those topologies, you will automatically be covered by the SLA. Charges for the service start with GA (see pricing).

Partner Interconnect is ideal if you want physical connectivity to your GCP resources but cannot connect at one of Google’s peering locations, or if you want to connect with an existing service provider. If you need help understanding the connection options, the information here can help.

In this blog we will walk through how you can start using Partner Interconnect, from choosing a partner that works best for you all the way through how you can deploy and start using your interconnect.

Choosing a partner

If you already have a service provider partner for network connectivity, you can check the list of supported service providers to see if they offer Partner Interconnect service. If not, you can select a partner from the list based on your data center location.

Some critical factors to consider are:

Bandwidth options and pricing

Partner Interconnect provides flexible options for bandwidth between 50 Mbps and 10 Gbps. Google charges on a monthly basis for VLAN attachments depending on capacity and egress traffic (see options and pricing).

Setting up Partner Interconnect VLAN attachments

Once you’ve established network connectivity with a partner, and they have set up interconnects with Google, you can set up and activate VLAN attachments using these steps:

  1. Create VLAN attachments.
  2. Request provisioning from the partner.
  3. If you have a Layer 2 partner, complete the BGP configuration and then activate the attachments for traffic to start. If you have a Layer 3 partner, simply activate the attachments, or use the pre-activation option.

With Partner Interconnect, you can connect to GCP where and how you want to. Follow these steps to easily access your GCP compute resources from your on-premises network.

Related content

Posted on in category News

Google may be working on a way to run Windows 10 on a Pixel

The content below is taken from the original ( Google may be working on a way to run Windows 10 on a Pixel), to continue reading please visit the site. Remember to respect the Author & Copyright.

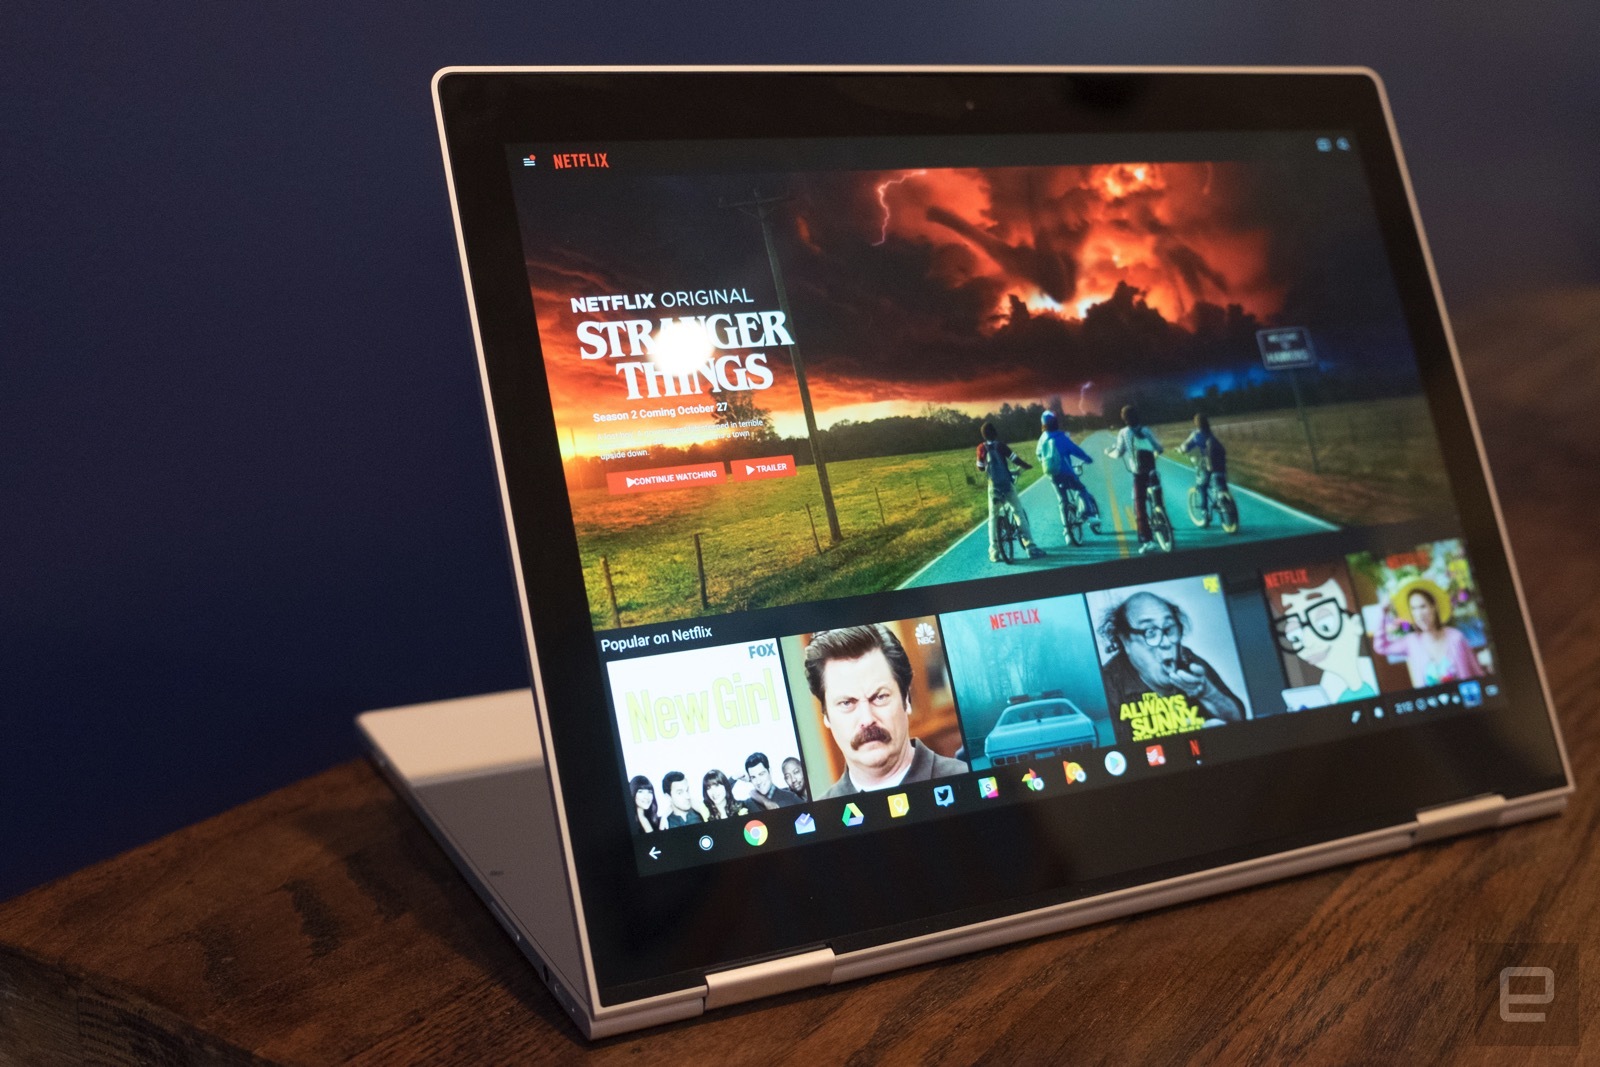
Google's Pixelbook is a high-end laptop that runs Chrome OS. If you're looking to do more with the hardware, like run Windows apps, you may soon be in luck. According to a report at XDA Developers (and picked up by 9to5Google), Google may in fact be…

Posted on in category News

The best webcams

The content below is taken from the original ( The best webcams), to continue reading please visit the site. Remember to respect the Author & Copyright.

By Andrew Cunningham and Kimber Streams

This post was done in partnership with Wirecutter. When readers choose to buy Wirecutter's independently chosen editorial picks, it may earn affiliate commissions that support its work. Read the full article h…

Posted on in category News

Customer Rewards

The content below is taken from the original ( Customer Rewards), to continue reading please visit the site. Remember to respect the Author & Copyright.

We'll pay you $1.47 to post on social media about our products, $2.05 to mention it in any group chats you're in, and 11 cents per passenger each time you drive your office carpool past one of our billboards.

Posted on in category News

Microsoft’s Office UI update includes a simpler, cleaner ribbon

The content below is taken from the original ( Microsoft’s Office UI update includes a simpler, cleaner ribbon), to continue reading please visit the site. Remember to respect the Author & Copyright.

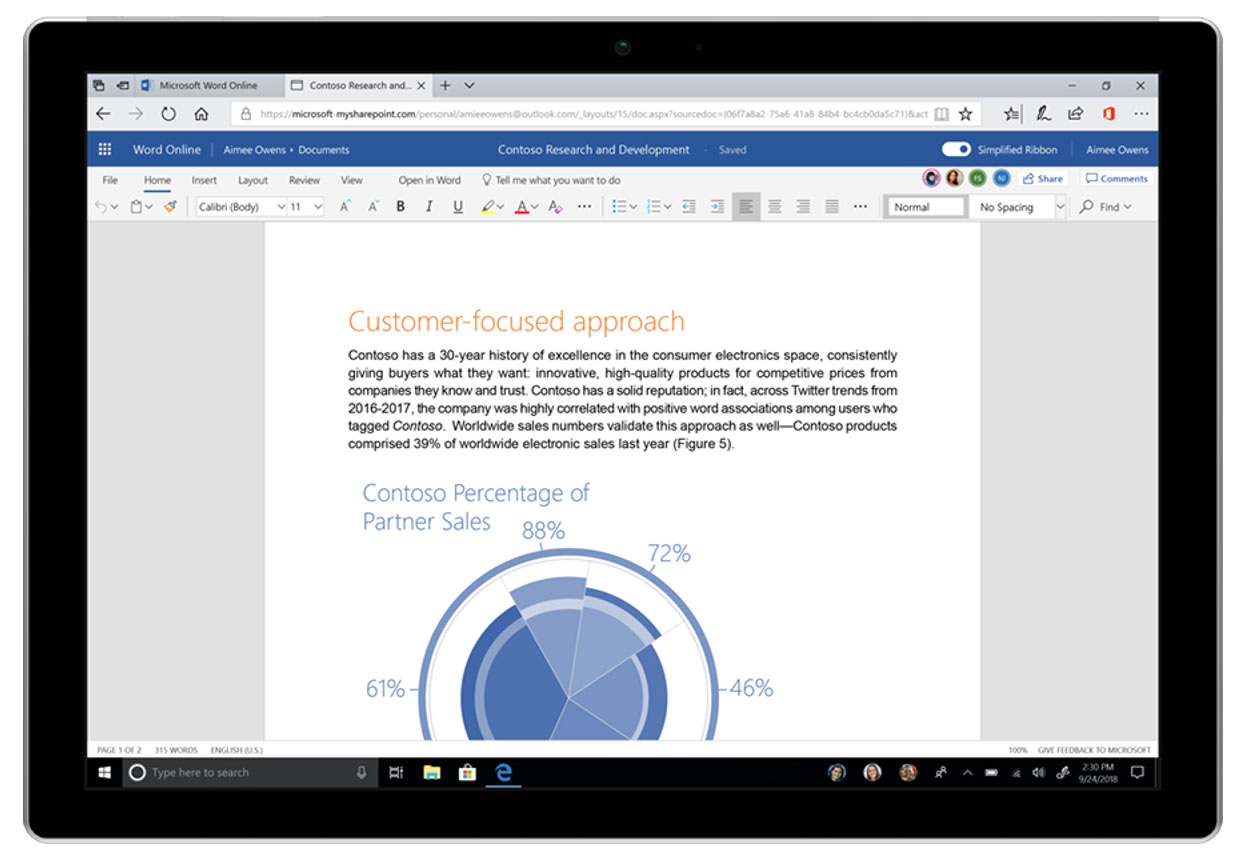
Microsoft has given its infamous Office ribbon a much simpler, much less cluttered look as part of its interface redesign for Office.com and Office 365 applications. The tech giant has updated the element to only show the most basic options — if you…

Posted on in category News

How to check Bluetooth version in Windows 10

The content below is taken from the original ( How to check Bluetooth version in Windows 10), to continue reading please visit the site. Remember to respect the Author & Copyright.

Bluetooth is one of the most common method used to transfer the files between a mobile device and the computer, but many times the version of Bluetooth is not supportive which creates issues in connecting and transferring the files. While […]

This post How to check Bluetooth version in Windows 10 is from TheWindowsClub.com.

Posted on in category News

Brit drone biz Sensat notches up 29km remote-control flight

The content below is taken from the original ( Brit drone biz Sensat notches up 29km remote-control flight), to continue reading please visit the site. Remember to respect the Author & Copyright.

Beyond visual line-of-sight exercise paves way for Amazon-style deliveries

A Brit drone firm has made a 29km beyond visual line-of-sight (BVLOS) flight, a small but important step for fuller commercialisation of the tech.…

Posted on in category News

This box sucks pure water out of dry desert air

The content below is taken from the original ( This box sucks pure water out of dry desert air), to continue reading please visit the site. Remember to respect the Author & Copyright.

For many of us, clean, drinkable water comes right out of the tap. But for billions it’s not that simple, and all over the world researchers are looking into ways to fix that. Today brings work from Berkeley, where a team is working on a water-harvesting apparatus that requires no power and can produce water even in the dry air of the desert. Hey, if a cactus can do it, why can’t we?

While there are numerous methods for collecting water from the air, many require power or parts that need to be replaced; replaced, what professor Omar Yaghi has developed needs neither.

The secret isn’t some clever solar concentrator or low-friction fan — it’s all about the materials. Yaghi is a chemist, and has created what’s called a metal-organic framework, or MOF, that’s eager both to absorb and release water.

It’s essentially a powder made of tiny crystals in which water molecules get caught as the temperature decreases. Then, when the temperature increases again, the water is released into the air again.

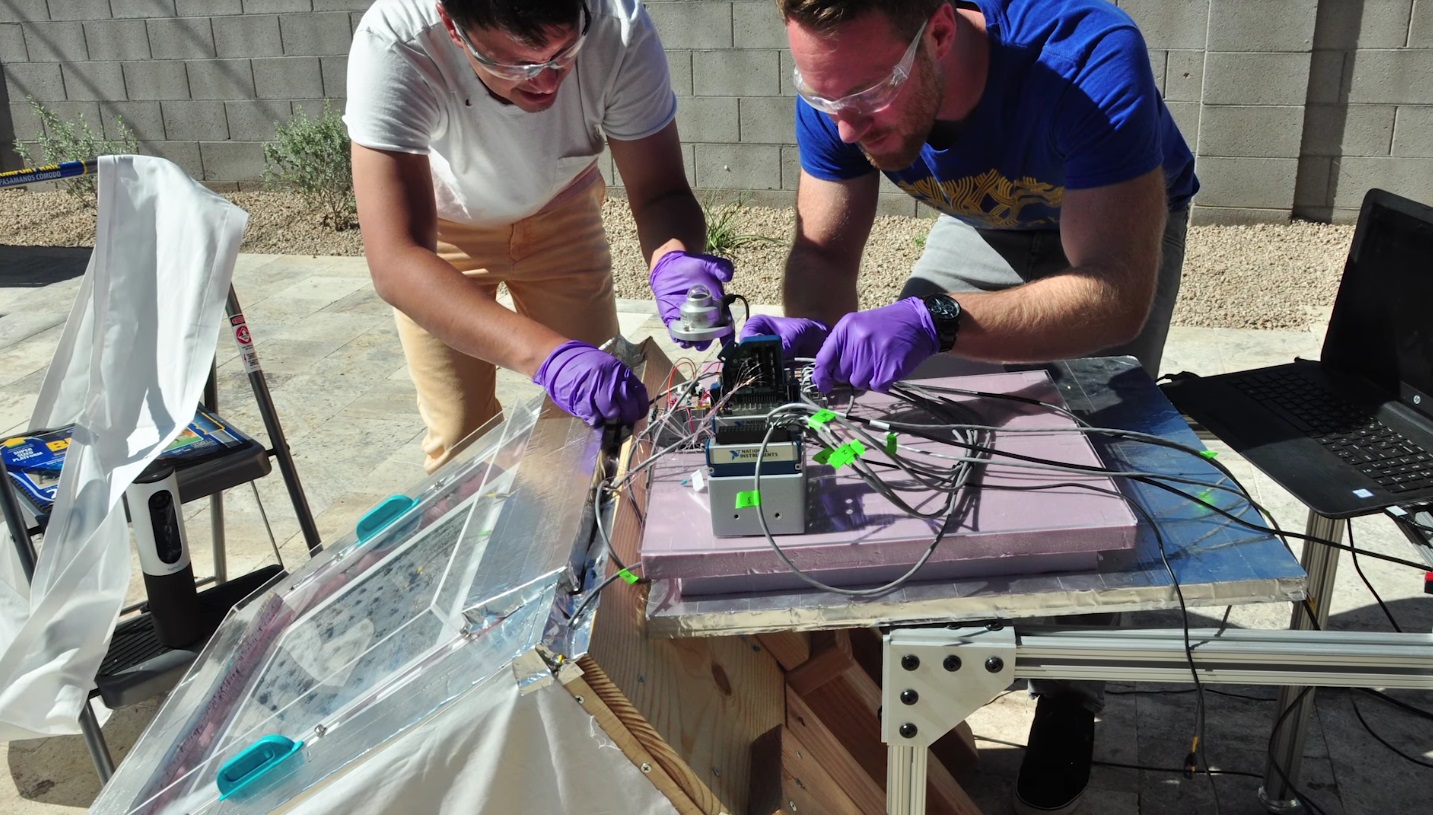
Yaghi demonstrated the process on a small scale last year, but now he and his team have published the results of a larger field test producing real-world amounts of water.

They put together a box about two feet per side with a layer of MOF on top that sits exposed to the air. Every night the temperature drops and the humidity rises, and water is trapped inside the MOF; in the morning, the sun’s heat drives the water from the powder, and it condenses on the box’s sides, kept cool by a sort of hat. The result of a night’s work: 3 ounces of water per pound of MOF used.

That’s not much more than a few sips, but improvements are already on the way. Currently the MOF uses zicronium, but an aluminum-based MOF, already being tested in the lab, will cost 99 percent less and produce twice as much water.

With the new powder and a handful of boxes, a person’s drinking needs are met without using any power or consumable material. Add a mechanism that harvests and stores the water and you’ve got yourself an off-grid potable water solution. solution going.

“There is nothing like this,†Yaghi explained in a Berkeley news release. “It operates at ambient temperature with ambient sunlight, and with no additional energy input you can collect water in the desert. The aluminum MOF is making this practical for water production, because it is cheap.â€

He says that there are already commercial products in development. More tests, with mechanical improvements and including the new MOF, are planned for the hottest months of the summer.

Posted on in category News

Brad Dickinson | Deploying Gateway using a Raspberry Pi, DNS over HTTPS and Pi-hole

Deploying Gateway using a Raspberry Pi, DNS over HTTPS and Pi-hole

The content below is taken from the original ( Deploying Gateway using a Raspberry Pi, DNS over HTTPS and Pi-hole), to continue reading please visit the site. Remember to respect the Author & Copyright.

Deploying Gateway using a Raspberry Pi, DNS over HTTPS and Pi-hole

Like many who are able, I am working remotely and in this post, I describe some of the ways to deploy Cloudflare Gateway directly from your home. Gateway’s DNS filtering protects networks from malware, phishing, ransomware and other security threats. It’s not only for corporate environments – it can be deployed on your browser or laptop to protect your computer or your home WiFi. Below you will learn how to deploy Gateway, including, but not limited to, DNS over HTTPS (DoH) using a Raspberry Pi, Pi-hole and DNSCrypt.

We recently launched Cloudflare Gateway and shortly thereafter, offered it for free until at least September to any company in need. Cloudflare leadership asked the global Solutions Engineering (SE) team, amongst others, to assist with the incoming onboarding calls. As an SE at Cloudflare, our role is to learn new products, such as Gateway, to educate, and to ensure the success of our prospects and customers. We talk to our customers daily, understand the challenges they face and consult on best practices. We were ready to help!

One way we stay on top of all the services that Cloudflare provides, is by using them ourselves. In this blog, I’ll talk about my experience setting up Cloudflare Gateway.

Gateway sits between your users, device or network and the public Internet. Once you setup Cloudflare Gateway, the service will inspect and manage all Internet-bound DNS queries. In simple terms, you point your recursive DNS to Cloudflare and we enforce policies you create, such as activating SafeSearch, an automated filter for adult and offensive content that’s built into popular search engines like Google, Bing, DuckDuckGo, Yandex and others.

There are various methods and locations DNS filtering can be enabled, whether it’s on your entire laptop, each of your individual browsers and devices or your entire home network. With DNS filtering front of mind, including DoH, I explored each model. The model you choose ultimately depends on your objective.

But first, let’s review what DNS and DNS over HTTPS are.

DNS is the protocol used to resolve hostnames (like https://ift.tt/ghWyhd) into IP addresses so computers can talk to each other. DNS is an unencrypted clear text protocol, meaning that any eavesdropper or machine between the client and DNS server can see the contents of the DNS request. DNS over HTTPS adds security to DNS and encrypt DNS queries using HTTPS (the protocol we use to encrypt the web).

Let’s get started

Navigate to https://dash.teams.cloudflare.com. If you don’t already have an account, the sign up process only takes a few minutes.

Deploying Gateway using a Raspberry Pi, DNS over HTTPS and Pi-hole

Configuring a Gateway location, shown below, is the first step.

Deploying Gateway using a Raspberry Pi, DNS over HTTPS and Pi-hole

Conceptually similar to HTTPS traffic, when our edge receives an HTTPS request, we match the incoming SNI header to the correct domain’s configuration (or for plain text HTTP the Host header). And when our edge receives a DNS query, we need a similar mapping to identify the correct configuration. We attempt to match configurations, in this order:

  1. DNS over HTTPS check and lookup based on unique hostname
  2. IPv4 check and lookup based on source IPv4 address
  3. Lookup based on IPv6 destination address

Let’s discuss each option.

DNS over HTTPS

The first attempt to match DNS requests to a location is pointing your traffic to a unique DNS over HTTPS hostname. After you configure your first location, you are given a unique destination IPv6 address and a unique DoH endpoint as shown below. Take note of the hostname as you will need it shortly. I’ll first discuss deploying Gateway in a browser and then to your entire network.

Deploying Gateway using a Raspberry Pi, DNS over HTTPS and Pi-hole

DNS over HTTPS is my favorite method for deploying Gateway and securing DNS queries at the same time. Enabling DoH prevents anyone but the DNS server of your choosing from seeing your DNS queries.

Enabling DNS over HTTPS in browsers

By enabling it in a browser, only queries issued in that browser are affected. It’s available in most browsers and there are quite a few tutorials online to show you how to turn it on.

Browser Supports
DoH
Supports Custom
Alternative Providers
Supports
Custom Servers
Chrome Yes Yes No
Safari No No No
Edge Yes** Yes** No**
Firefox Yes Yes Yes
Opera Yes* Yes* No*
Brave Yes* Yes* No*
Vivaldi Yes* Yes* No*

* Chromium based browser. Same support as Chrome
** Most recent version of Edge is built on Chromium

Chromium based browsers

Using Chrome as an example on behalf of all the Chromium-based browsers, enabling DNS over HTTPS is straightforward, but as you can see in the table above, there is one issue: Chrome does not currently support custom servers. So while it is great that a user can protect their DNS queries, they cannot choose the provider, including Gateway.

Here is how to enable DoH in Chromium based browsers:

Navigate to chrome://flags and toggle the beta flag to enabled.

Deploying Gateway using a Raspberry Pi, DNS over HTTPS and Pi-hole

Firefox

Firefox is the exception to the rule because they support both DNS over HTTPS and the ability to define a custom server. Mozilla provides detailed instructions about how to get started.

Once enabled, navigate to Preferences -> General -> Network Security and select ‘Settings’. Scroll to the section ‘Enable DNS over HTTPS’, select ‘Custom’ and input your Gateway DoH address, as shown below:

Deploying Gateway using a Raspberry Pi, DNS over HTTPS and Pi-hole

Optionally, you can enable Encrypted SNI (ESNI), which is an IETF draft for encrypting the SNI headers, by toggling the ‘network.security.esni.enabled’ preference in about:config to ‘true’. Read more about how Cloudflare is one of the few providers that supports ESNI by default.

Congratulations, you’ve configured Gateway using DNS over HTTPS! Keep in mind that only queries issued from the configured browser will be secured. Any other device connected to your network such as your mobile devices, gaming platforms, or smart TVs will still use your network’s default DNS server, likely assigned by your ISP.

Configuring Gateway for your entire home or business network

Deploying Gateway at the router level allows you to secure every device on your network without needing to configure each one individually.

Requirements include:

  • Access to your router’s administrative portal
  • A router that supports DHCP forwarding
  • Raspberry Pi with WiFi or Ethernet connectivity

There aren’t any consumer routers on the market that natively support DoH custom servers and likely few that natively support DoH at all. A newer router I purchased, the Netgear R7800, does not support either, but it is one of the most popular routers for flashing dd-wrt or open-wrt, which both support DoH. Unfortunately, neither of these popular firmwares support custom servers.

While it’s rare to find a router that supports DoH out of the box, DoH with custom servers, or has potential to be flashed, it’s common for a router to support DHCP forwarding (dd-wrt and open-wrt both support DHCP forwarding). So, I installed Pi-hole on my Raspberry Pi and used it as my home network’s DNS and DHCP server.

Getting started with Pi-hole and dnscrypt-proxy

If your Raspberry Pi is new and hasn’t been configured yet, follow their guide to get started. (Note: by default, ssh is disabled, so you will need a keyboard and/or mouse to access your box in your terminal.)

Once your Raspberry Pi has been initialized, assign it a static IP address in the same network as your router. I hardcoded my router’s LAN address to 192.168.1.2

Using vim:
sudo vi /etc/dhcpcd.conf

Deploying Gateway using a Raspberry Pi, DNS over HTTPS and Pi-hole

Restart the service.
sudo /etc/init.d/dhcpcd restart

Check that your static IP is configured correctly.
ip addr show dev eth0

Deploying Gateway using a Raspberry Pi, DNS over HTTPS and Pi-hole

Now that your Raspberry Pi is configured, we need to install Pi-hole: https://github.com/pi-hole/pi-hole/#one-step-automated-install

I chose to use dnscrypt-proxy as the local service that Pi-hole will use to forward all DNS queries. You can find the latest version here.

To install dnscrypt-proxy on your pi-hole, follow these steps:

wget https://github.com/DNSCrypt/dnscrypt-proxy/releases/download/2.0.39/dnscrypt-proxy-linux_arm-2.0.39.tar.gz
tar -xf dnscrypt-proxy-linux_arm-2.0.39.tar.gz
mv linux-arm dnscrypt-proxy
cd dnscrypt-proxy
cp example-dnscrypt-proxy.toml dnscrypt-proxy.toml

Next step is to build a DoH stamp. A stamp is simply an encoded DNS address that encodes your DoH server and other options.

Deploying Gateway using a Raspberry Pi, DNS over HTTPS and Pi-hole

As a reminder, you can find Gateway’s unique DoH address in your location configuration.

Deploying Gateway using a Raspberry Pi, DNS over HTTPS and Pi-hole

At the very bottom of your dnscrypt-proxy.toml configuration file, uncomment both lines beneath [static].

  • Change  [static.'myserver'] to [static.'gateway']
  • Replace the default stamp with the one generated above

The static section should look similar to this:

Deploying Gateway using a Raspberry Pi, DNS over HTTPS and Pi-hole

Also in dnscrypt-proxy.toml configuration file, update the following settings:
server_names = ['gateway']
listen_addresses = ['127.0.0.1:5054']
fallback_resolvers = ['1.1.1.1:53', '1.0.0.1:53']
cache = false

Now we need to install dnscrypt-proxy as a service and configure Pi-hole to point to the listen_addresses defined above.

Install dnscrypt-proxy as a service:
sudo ./dnscrypt-proxy -service install

Start the service:
sudo ./dnscrypt-proxy -service start

You can validate the status of the service by running:
sudo service dnscrypt-proxy status or netstat -an | grep 5054:

Deploying Gateway using a Raspberry Pi, DNS over HTTPS and Pi-hole

Also, confirm the upstream is working by querying localhost on port 5054:
dig www.cloudflare.com  -p 5054 @127.0.0.1

Deploying Gateway using a Raspberry Pi, DNS over HTTPS and Pi-hole

You will see a matching request in the Gateway query log (note the timestamps match):

Deploying Gateway using a Raspberry Pi, DNS over HTTPS and Pi-hole

Configuring DNS and DHCP in the Pi-hole administrative console

Open your browser and navigate to the Pi-hole’s administrative console. In my case, it’s http://192.168.1.6/admin

Go to Settings -> DNS to modify the upstream DNS provider, which we’ve just configured to be dnscrypt-proxy.

Deploying Gateway using a Raspberry Pi, DNS over HTTPS and Pi-hole

Change the upstream server to 127.0.0.1#5054 and hit save. According to Pi-hole’s forward destination determination algorithm, the fastest upstream DNS server is chosen. Therefore, if you want to deploy redundancy, it has to be done in the DNSCrypt configuration.

Almost done!

In Settings->DHCP, enable the DHCP server:

Deploying Gateway using a Raspberry Pi, DNS over HTTPS and Pi-hole

Hit save.

At this point, your Pi-hole server is running in isolation and we need to deploy it to your network. The simplest way to ensure your Pi-hole is being used exclusively by every device is to use your Pi-hole as both a DNS server and a DHCP server. I’ve found that routers behave oddly if you outsource DNS but not DHCP, so I outsource both.

After I enabled the DHCP server on the Pi-hole, I set the router’s configuration to DHCP forwarding and defined the Pi-hole static address:

Deploying Gateway using a Raspberry Pi, DNS over HTTPS and Pi-hole

After applying the routers configuration, I confirmed it was working properly by forgetting the network in my network settings and re-joining. This results in a new IPv4 address (from our new DHCP server) and if all goes well, a new DNS server (the IP of Pi-hole).

Deploying Gateway using a Raspberry Pi, DNS over HTTPS and Pi-hole

Done!

Now that our entire network is using Gateway, we can configure Gateway Policies to secure our DNS queries!

IPv4 check and lookup based on source IPv4 address

For this method to work properly, Gateway requires that your network has a static IPv4 address. If your IP address does not change, then this is the quickest solution (but still does not prevent third-parties from seeing what domains you are going to). However, if you are configuring Gateway in your home, like I am, and you don’t explicitly pay for this service, then most likely you have a dynamic IP address. These addresses will always change when your router restarts, intentionally or not.

Lookup based on IPv6 destination address

Another option for matching requests in Gateway is to configure your DNS server to point to a unique IPv6 address provided to you by Cloudflare. Any DNS query pointed to this address will be matched properly on our edge.

This might be a good option if you want to use Cloudflare Gateway on your entire laptop by setting your local DNS resolution to this address. However, if your home router or ISP does not support IPv6, DNS resolution won’t work.

Conclusion

In this blog post, we’ve discussed the various ways Gateway can be deployed and how encrypted DNS is one of the next big Internet privacy improvements. Deploying Gateway can be done on a per device basis, on your router or even with a Raspberry Pi.